Introduction and Purpose
The Primero application can run as a stand alone instance on a Windows PC without consistent internet connectivity. The Primero application runs using VirtualBox VM and the user can access the application using a browser just like the version that is connected to the Internet.
This document is meant for IT staff who have administrator access to laptops and other computers so they can practice running the Primero Virtual Machine (VM). The Primero VM can run on Mac OSX, Windows, and Linux. Using the VM will allow administrators to perform and test out configuration changes, or simply try out using the system. This guide describes the minimum system requirements for running this type of installation, the installation steps, how to run Primero once it’s installed locally, and some troubleshooting assistance.
IMPORTANT NOTE: The Primero VM is not intended for use with live production data. For offline activities, we recommend the Primero mobile app.
Prerequisites and System Requirements
For information on what kind of operating system you must be running to use the Primero VM, please consult the VirtualBox documentation: https://www.virtualbox.org/manual/ch01.html#hostossupport
Once the VM is running, you can access the Primero web application using the latest versions of Chrome, Firefox, or Safari. Internet Explorer and Edge are not supported.
Please make sure that the computer has VT-x enabled in the BIOS. If your computer does not have VT-x enabled, DO NOT ATTEMPT TO RUN A PRIMERO VM until this is changed.
How to Change the BIOS Setup
Before installing Primero, the user must enable Virtualization Technology in the system BIOS settings. Note that the BIOS startup and BIOS interfaces vary based on computer manufacturer and model. There will be different steps for enabling virtualization. A common set of key combinations for entering system BIOS settings can be found here:
http://pcsupport.about.com/od/fixtheproblem/a/biosaccess_pc.htm
Follow the steps below to enable Virtualization Technology VT-x for recent versions of Lenovo ThinkPad notebooks which are common machines for Primero users:
Shutdown the system, reboot, and enter into BIOS setting by pressing ENTER during startup.
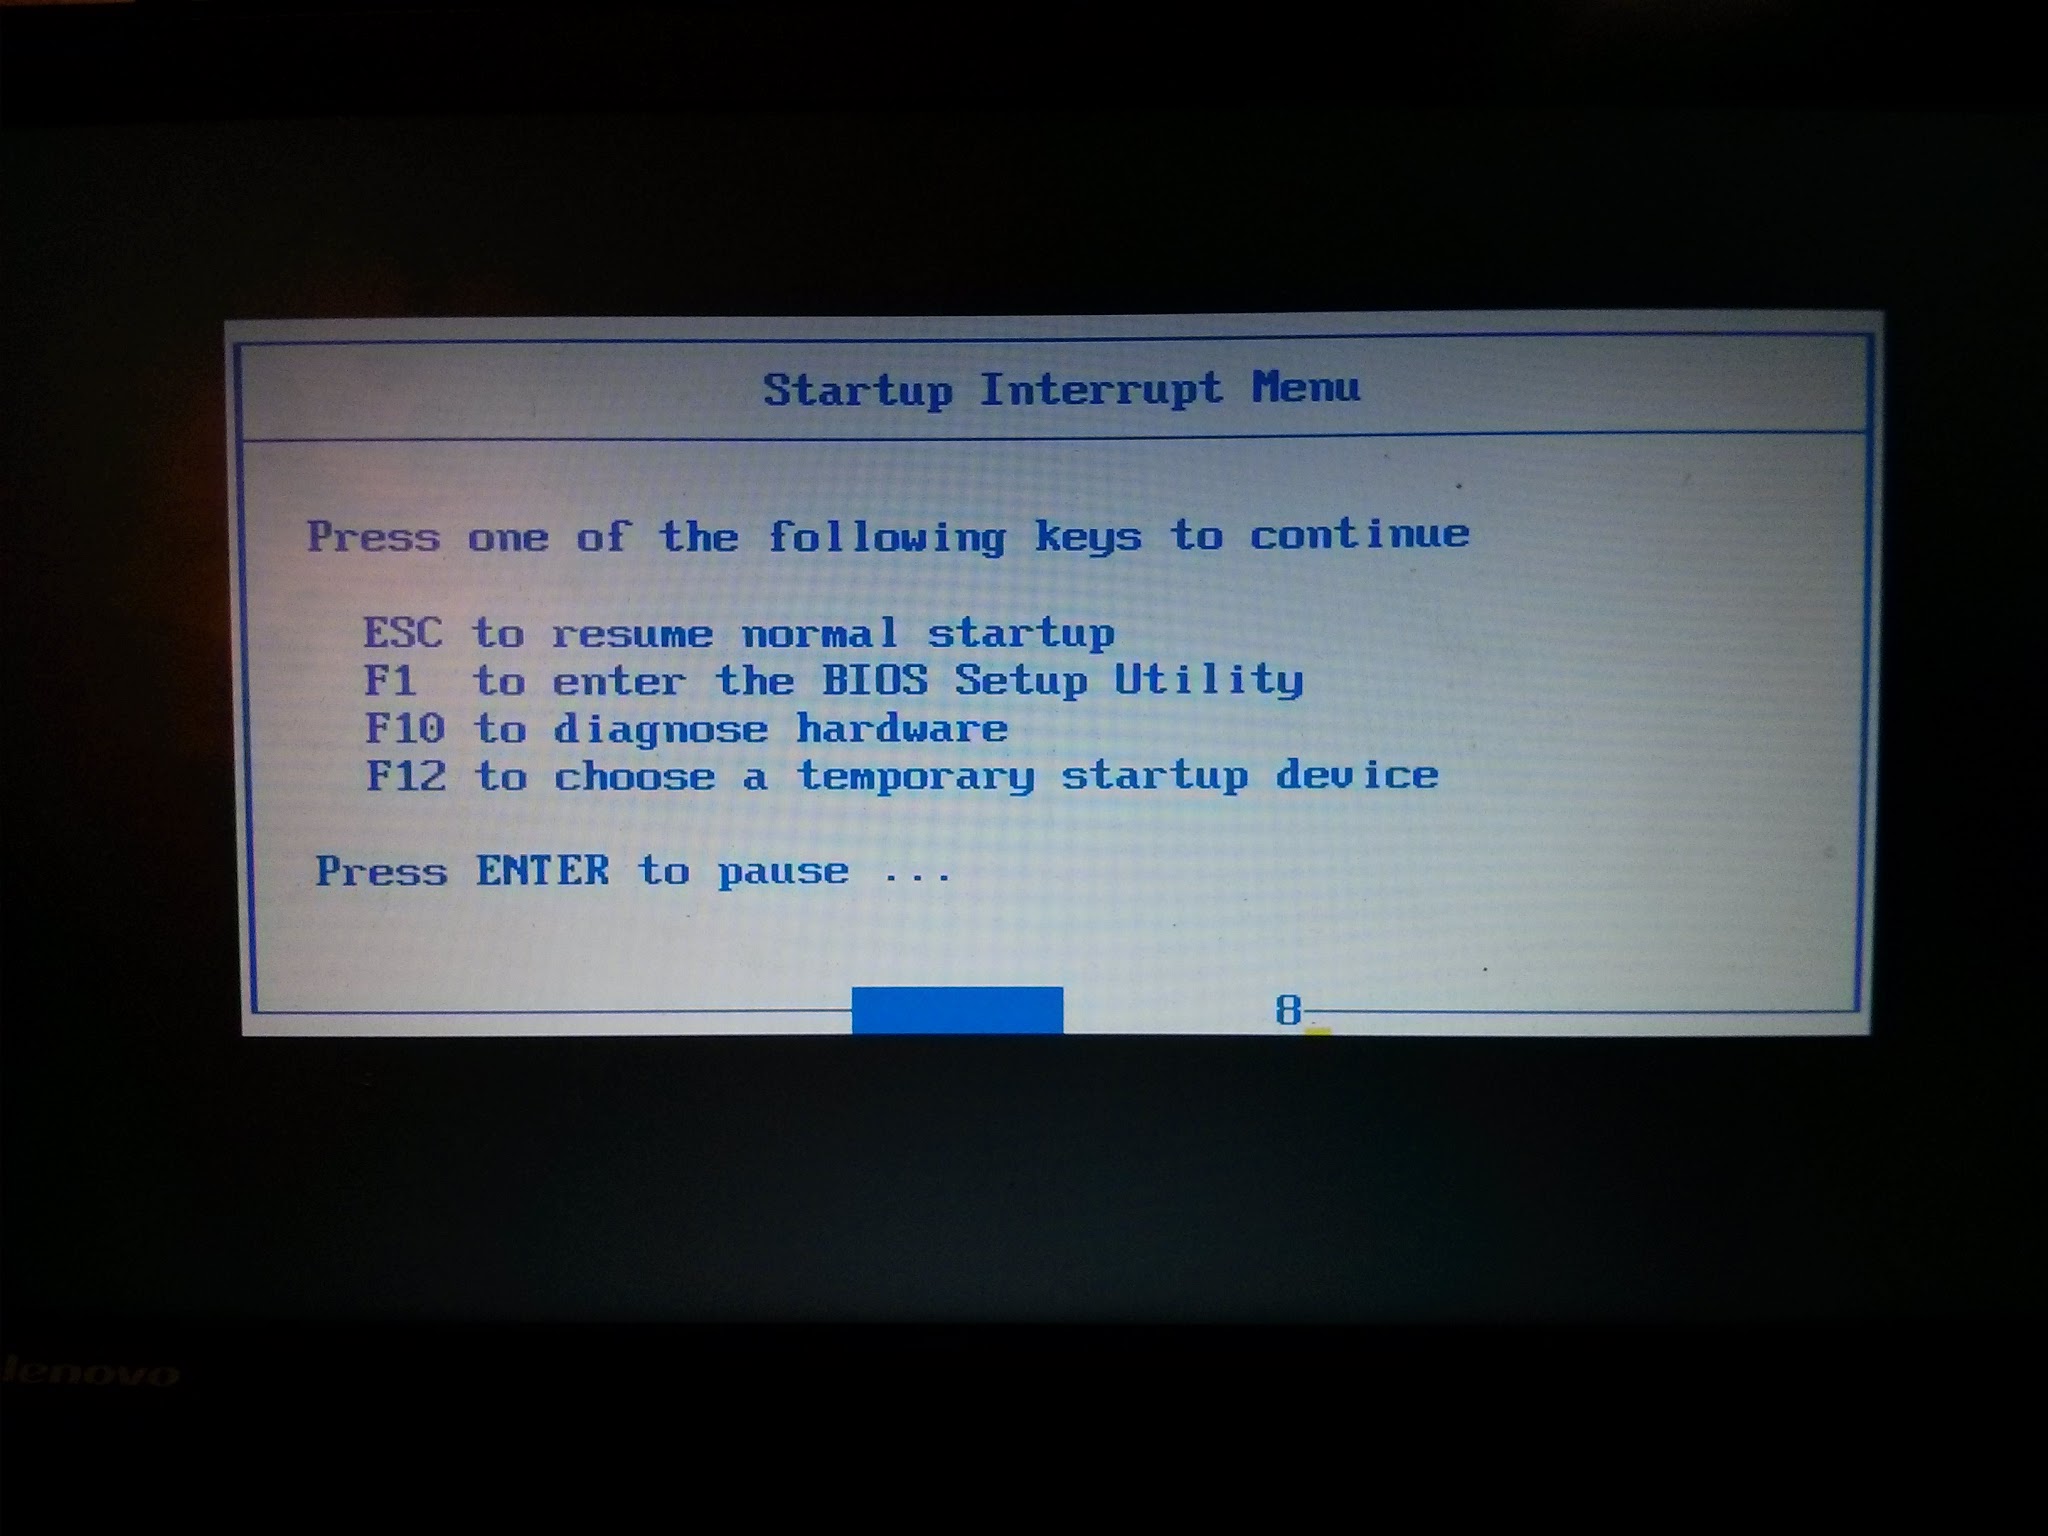
Press <F1> to enter the Setup Utility.
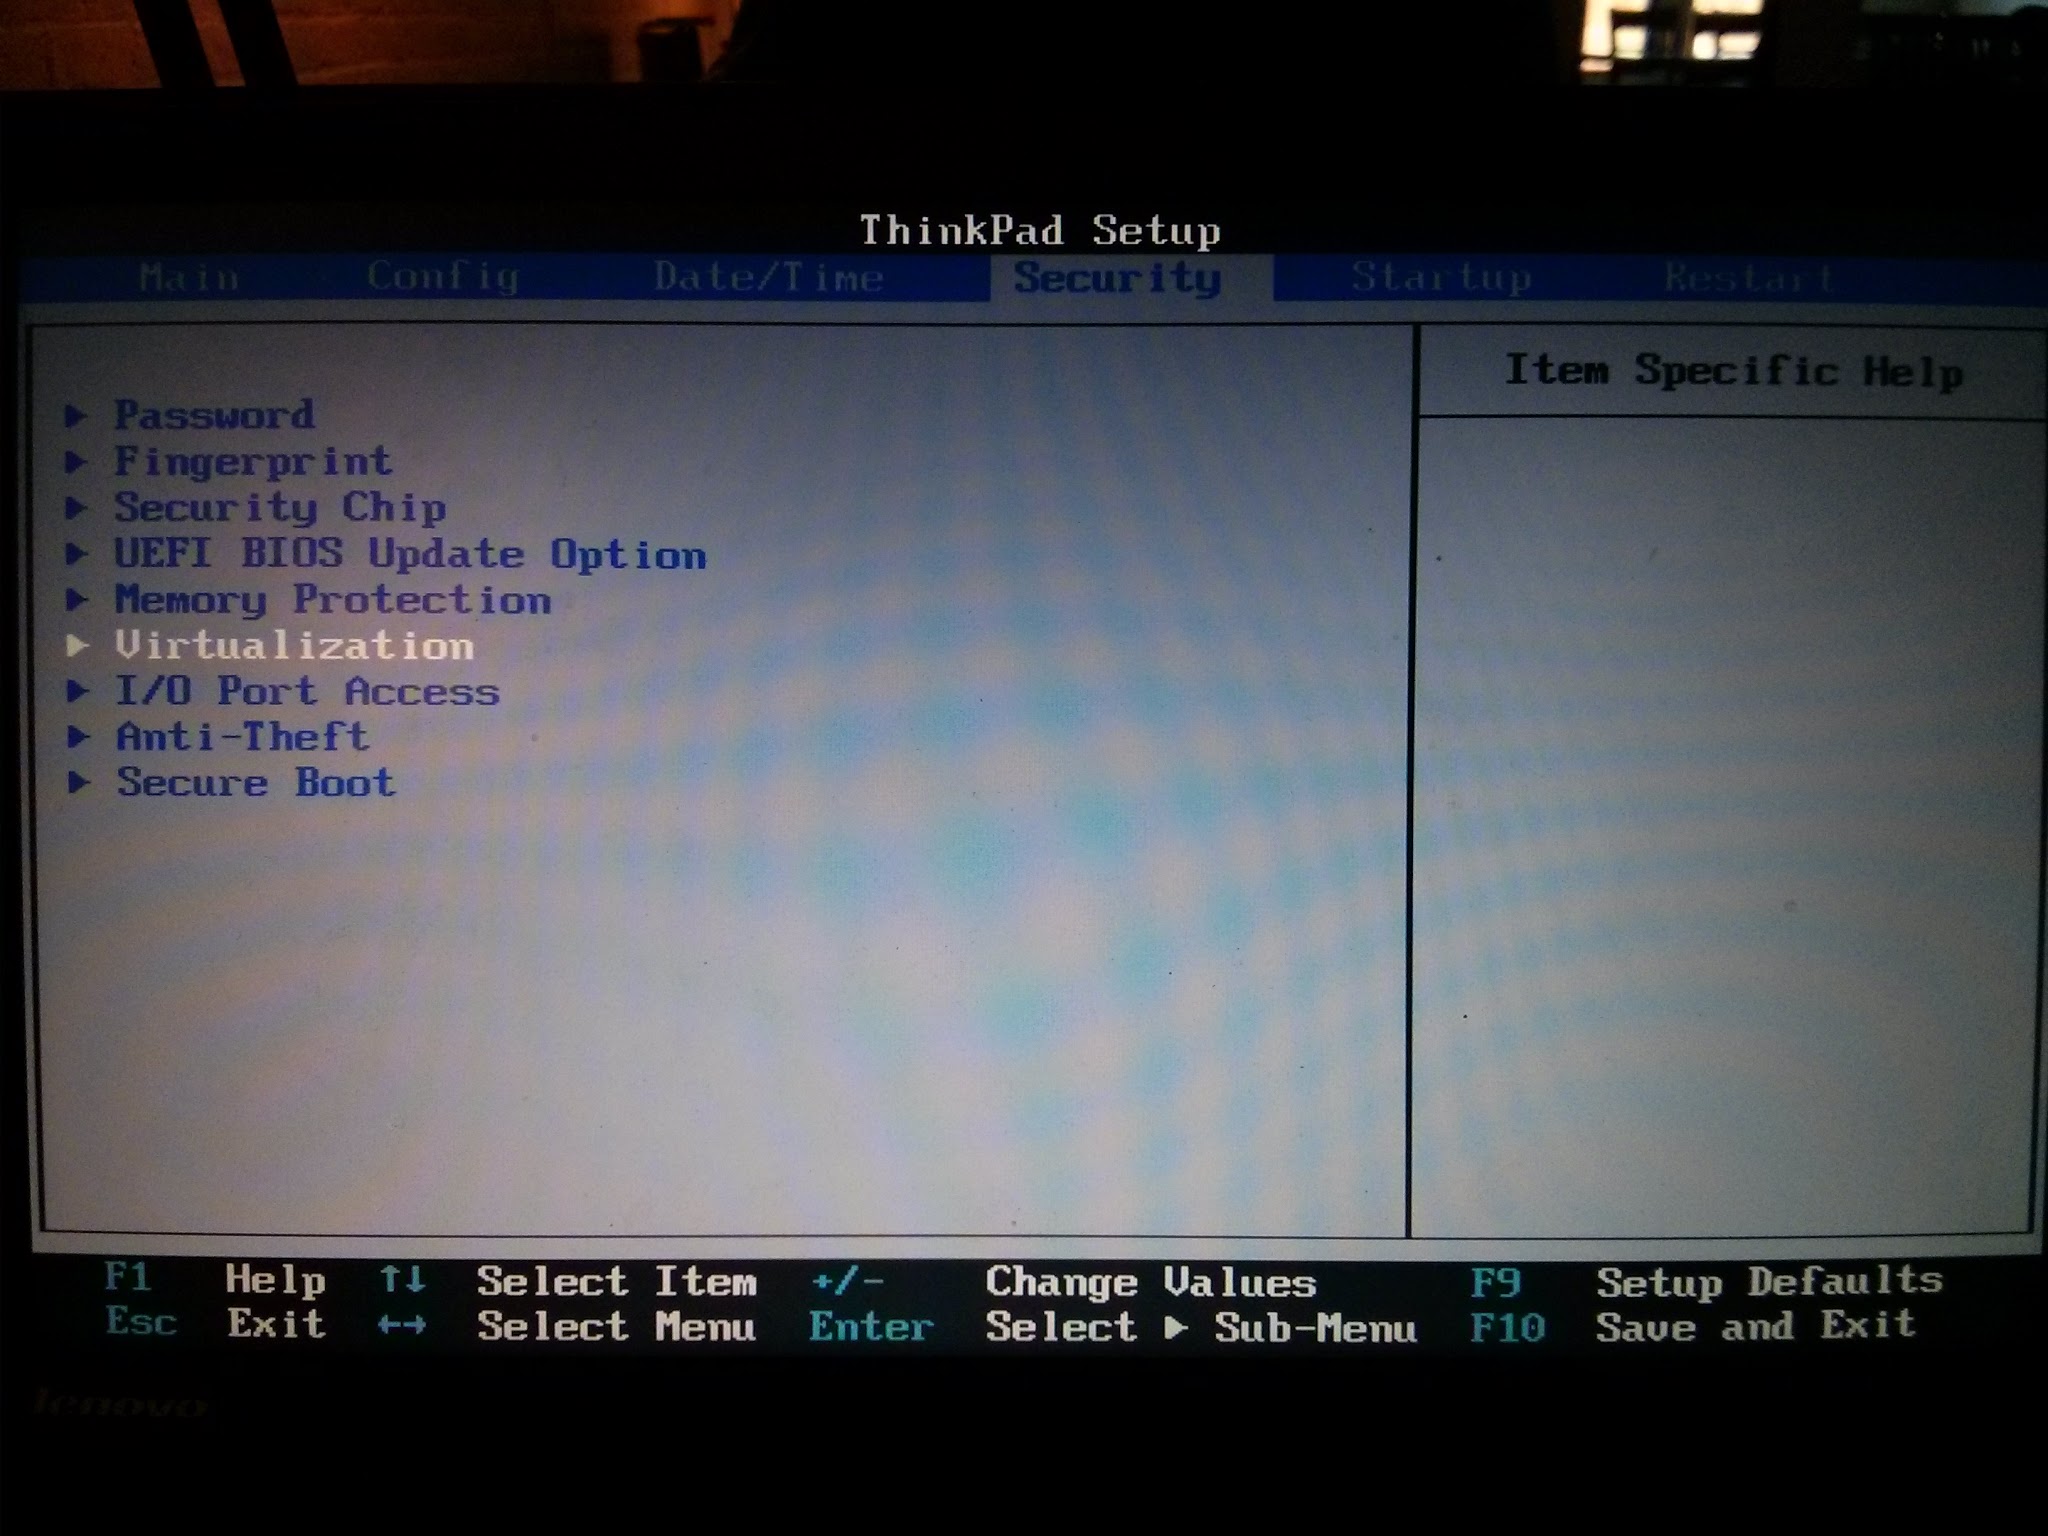
Navigate to the “Security” tab and select “Virtualization” and press ENTER.
Enable both virtualization options if disabled.
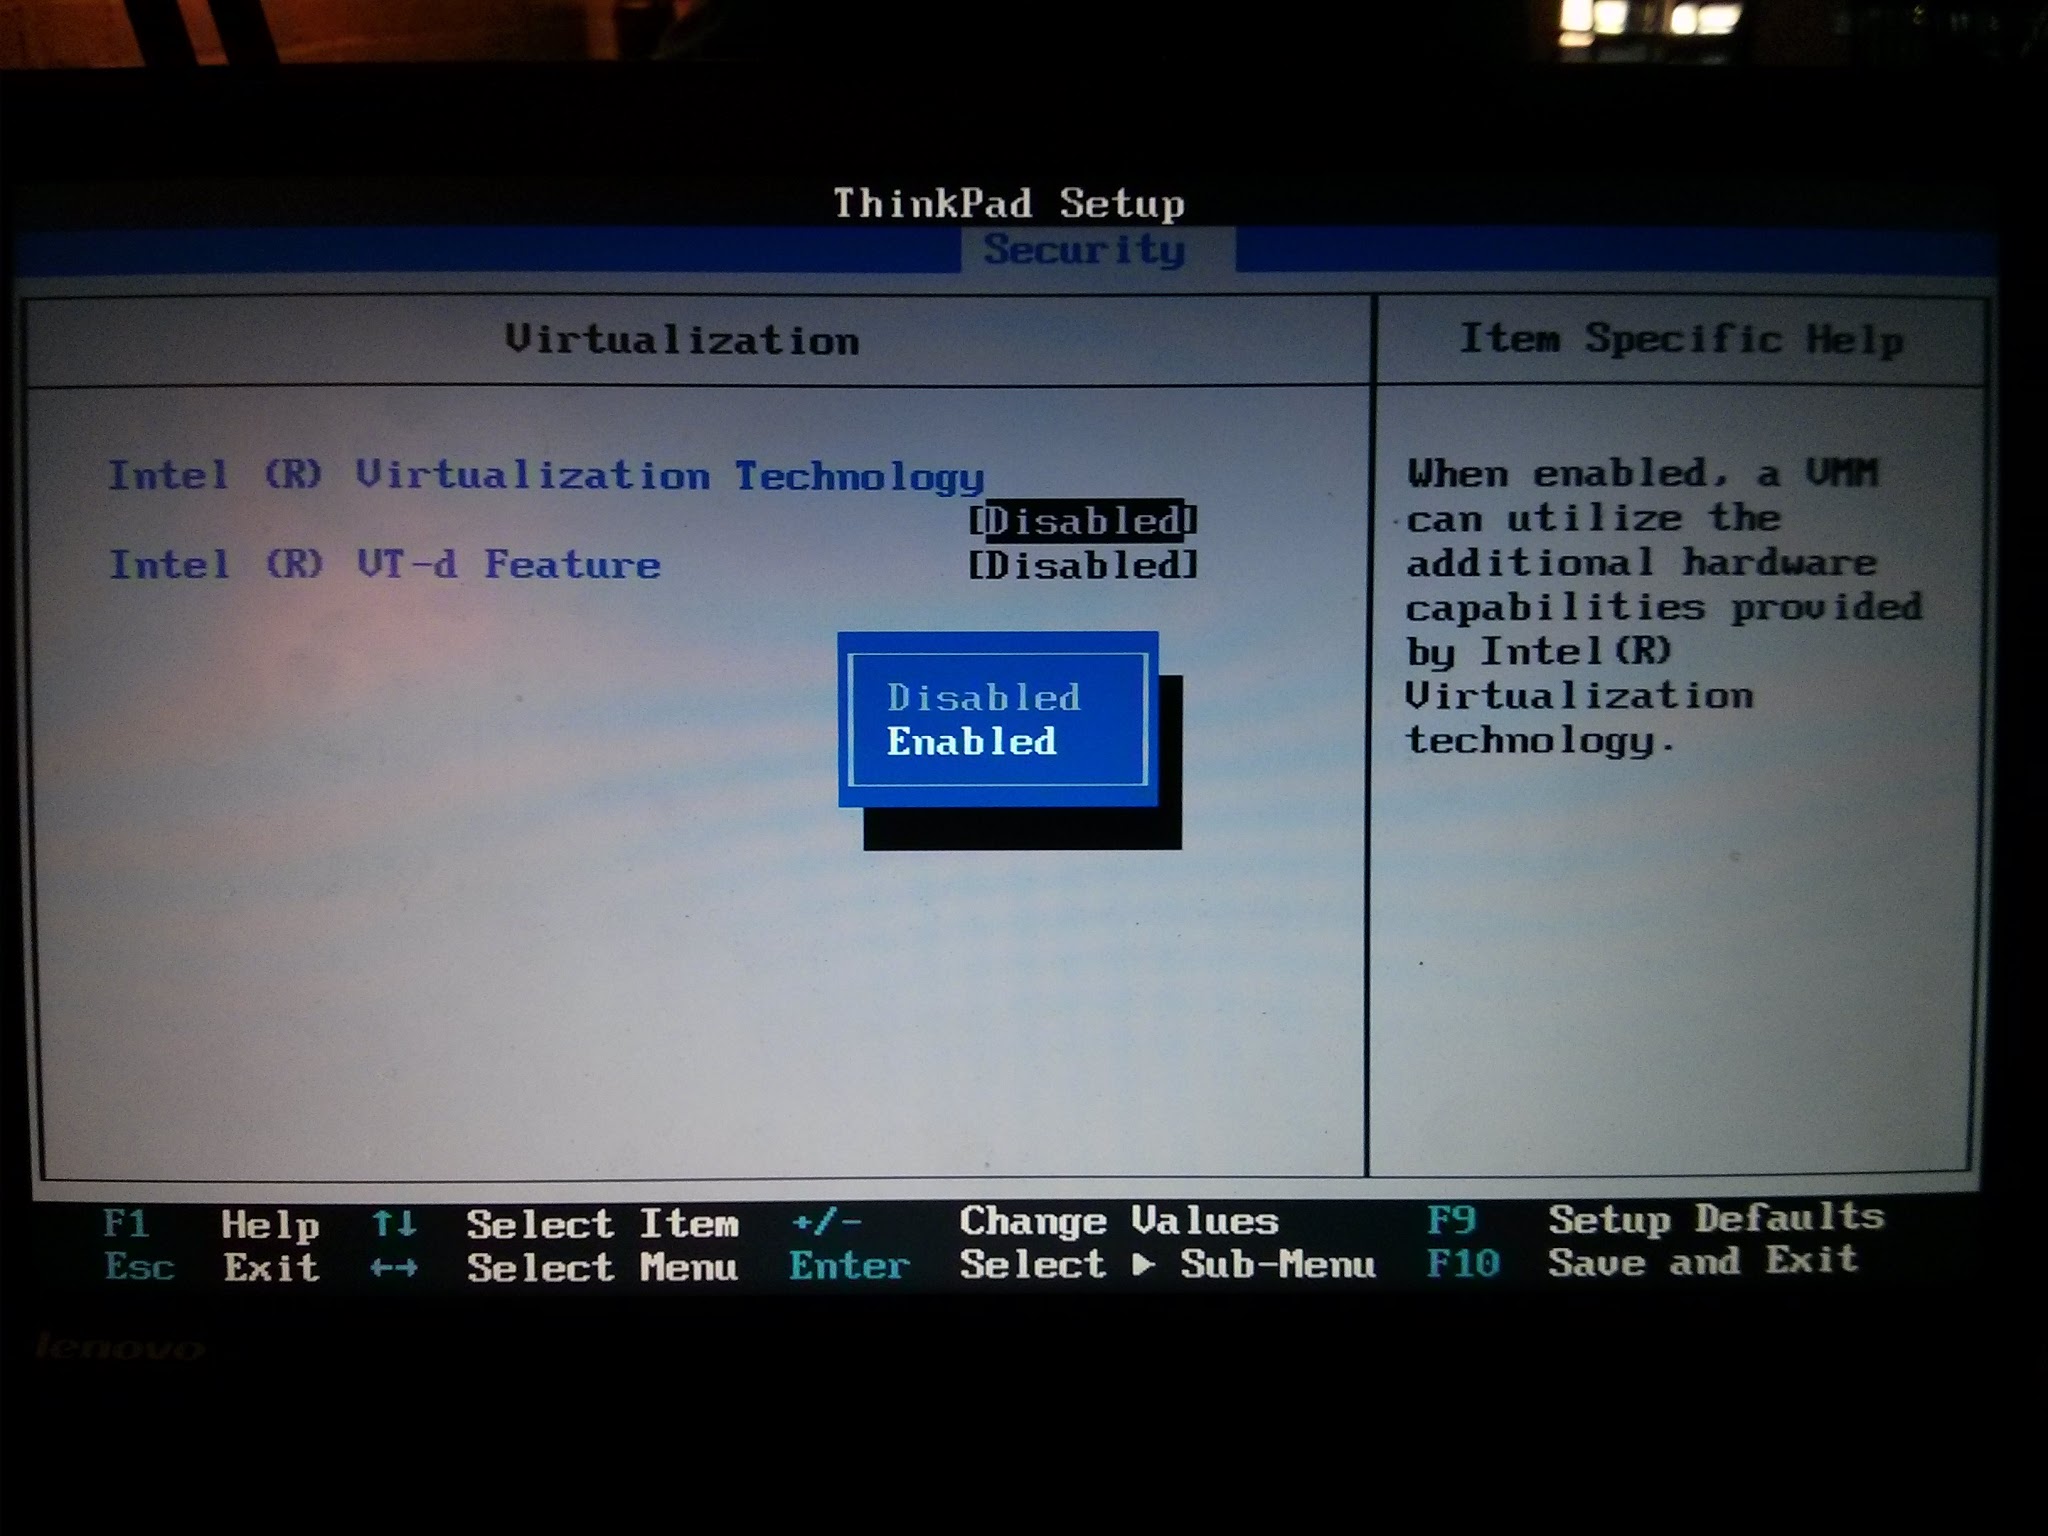
Press <F10> to Save and Exit. The machine will again restart, now with virtualization enabled. You may proceed with installation.
VirtualBox and VM Files
To run Primero on a virtual machine (VM), you will need to run a Primero VM file (this will have the file extension .ova) using VirtualBox. VirtualBox is a program which allows you to run and manage the states of multiple VMs on your computer.
The current preferred version of VirtualBox is 5.2.4, and you can download the installation file here: https://www.virtualbox.org/wiki/Download_Old_Builds_5_2
Once you have downloaded the installer file, simply install VirtualBox as you would any other program.
Starting the VM for the first time
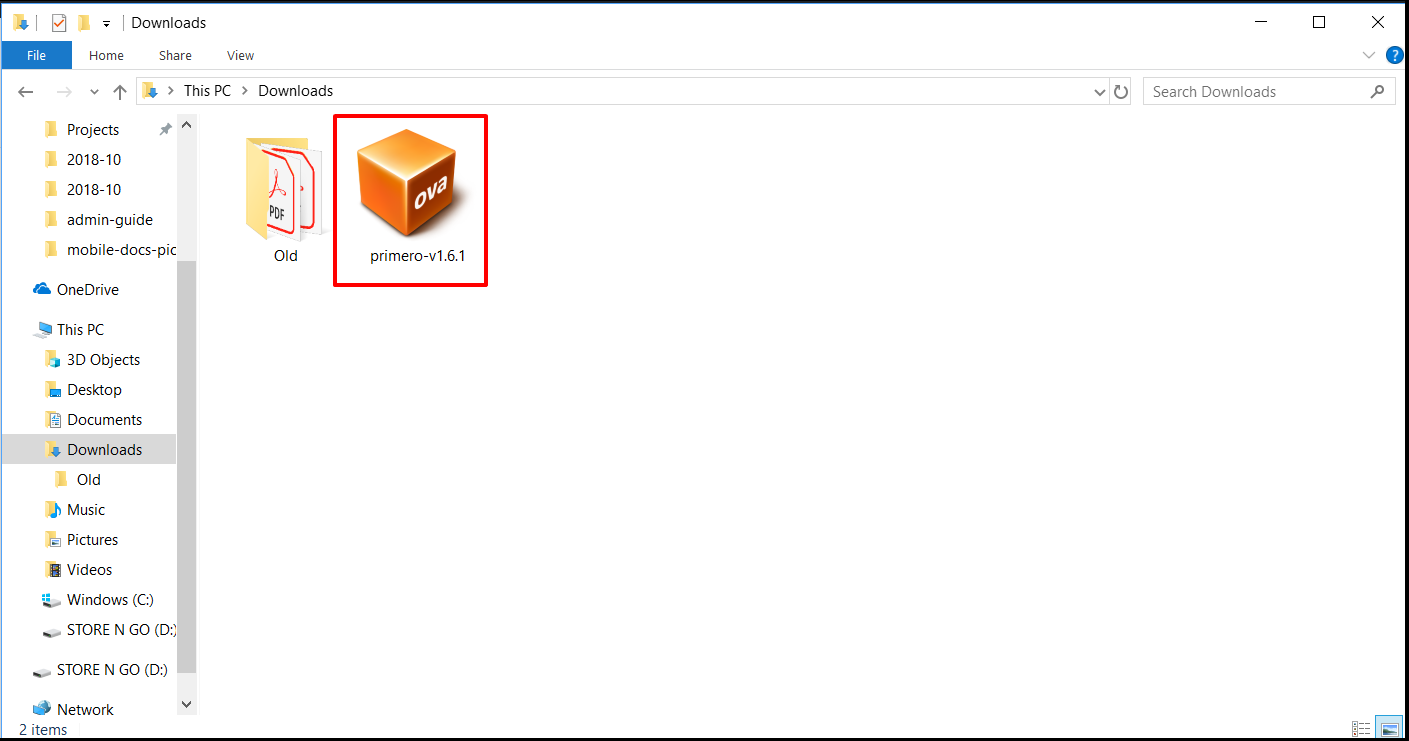
Once you have downloaded the .ova file (you should have received a link to this file), double-click on the file from the file explorer. This should automatically import the file into VirtualBox.

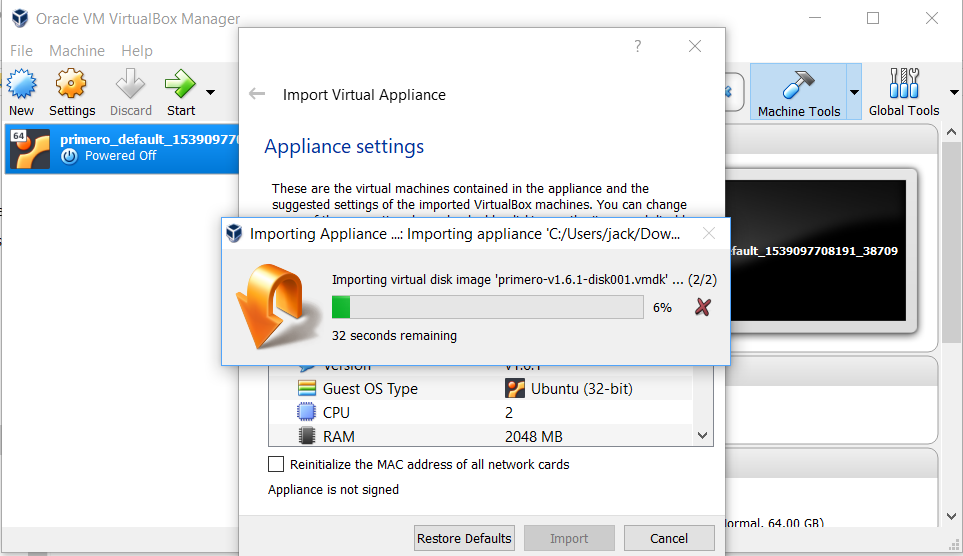
A window will appear giving you the details of the machine you are importing. Leave the settings as-is, and click the "Import" button to begin the import process.
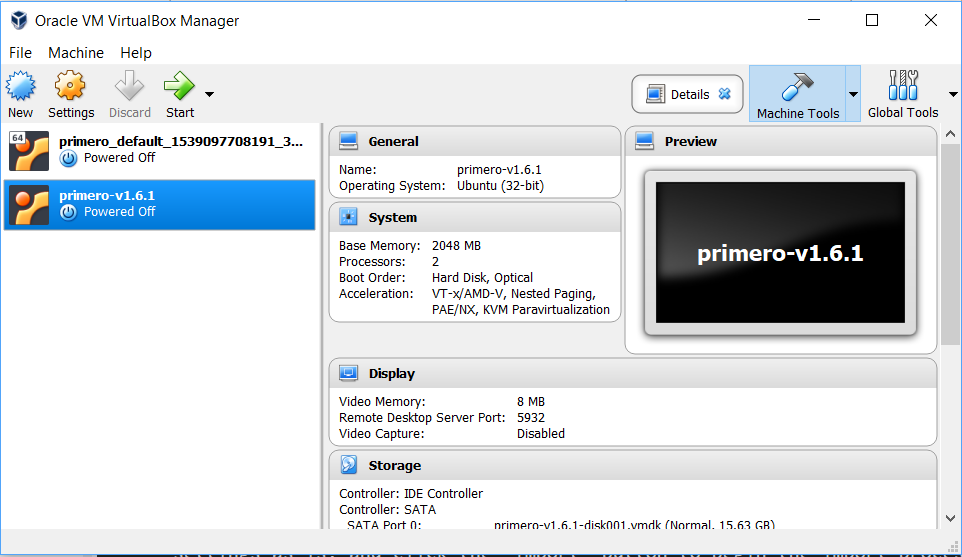
Once the import process is done, you should see the VirtualBox window below. You will see an entry for a VM with a name corresponding to the version in the name of the .ova file you just imported.
Running Primero
Once the import is complete, you can double-click on the machine to start it up. At this point, you will use the VirtualBox application itself to start, stop, and re-configure your machine.
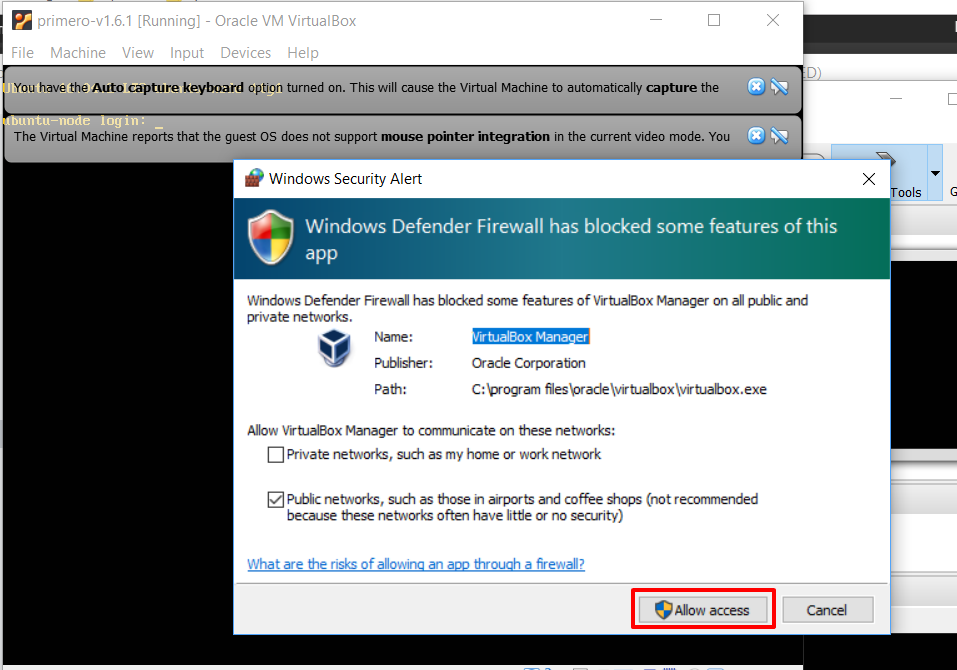
When you double-click on the machine, you may get a message from your operating system saying that VirtualBox has been blocked for security reasons. Click through to allow VirtualBox permission to the blocked features.
Once the VM is running, you can access the Primero application through the browser using the URL https://localhost:11443/login.
Open your preferred browser, Google Chrome or Firefox for example, and type: https://localhost:11443 in your navigation bar. Make sure “https://” is included.
The browser will redirect the page to https://localhost:11443/login. If you get a 404 or 400 error, wait a few seconds and refresh the page.
A certificate error similar to what is shown below will appear - each browser handles this somewhat differently. This is expected behavior. Click on “Advanced” and “Proceed”.

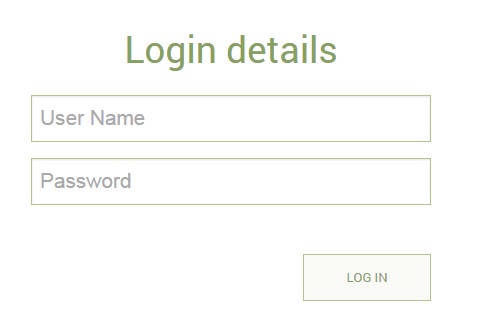
- The browser will redirect to the login page https://localhost:11443/login and the login for the Primero application will appear as shown below. All functionality is identical to the version that is connected to the internet.
Clones and Snapshots
VirtualBox allows you to create clones and snapshots of your machine. These allow you, if you make a mistake, to “rewind” your machine back to what it looked like before you made said mistake. For more information on clones and snapshots in VirtualBox, please see the VirtualBox documentation: http://www.virtualbox.org/manual/
How to Stop the VirtualBox VM and Primero
To stop the VirtualBox VM:
Open the VirtualBox VM window.
Select the Machine option from the menu or click on the X at the top-right of the window.
Select Send the shutdown signal option and click OK.

- A few commands will appear and the command window for the VirtualBox VM will close.
Once you have stopped the VirtualBox VM, the Primero application will no longer be available in the browser window. It is necessary to restart the VirtualBox VM using the Start Primero command from the Windows menu.
How to Reset the VirtualBox VM
Before resetting, make sure all the data within the Primero application running in your browser window has been saved. To reset the VirtualBox VM:
Open the VirtualBox VM window.
Select the Machine option from the menu.
Select Reset option.
When the confirmation appears, click the RESET button.
How to Destroy the Primero VM
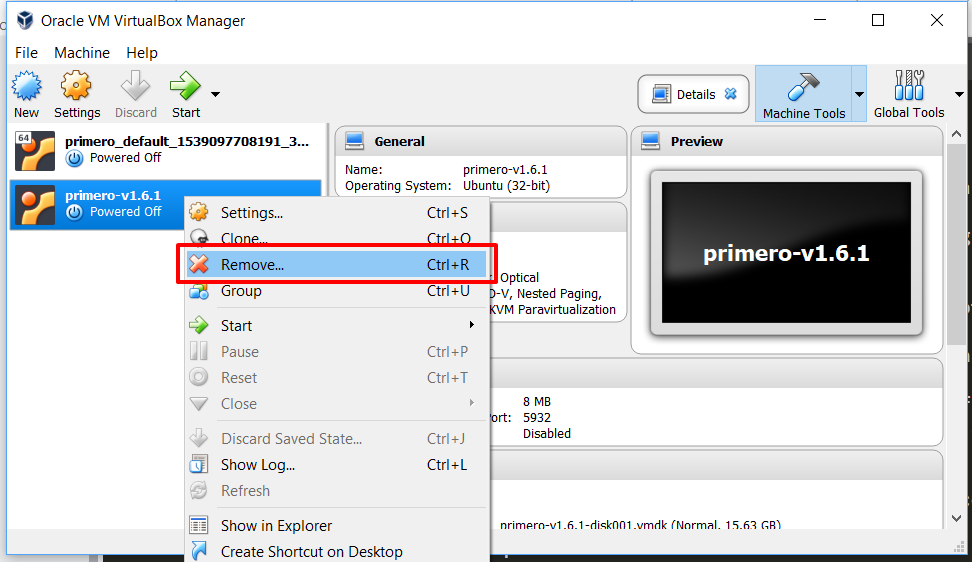
First, shut down the VM as outlined above. Next, go to VirtualBox. Right-click on your machine, and then select "Remove."
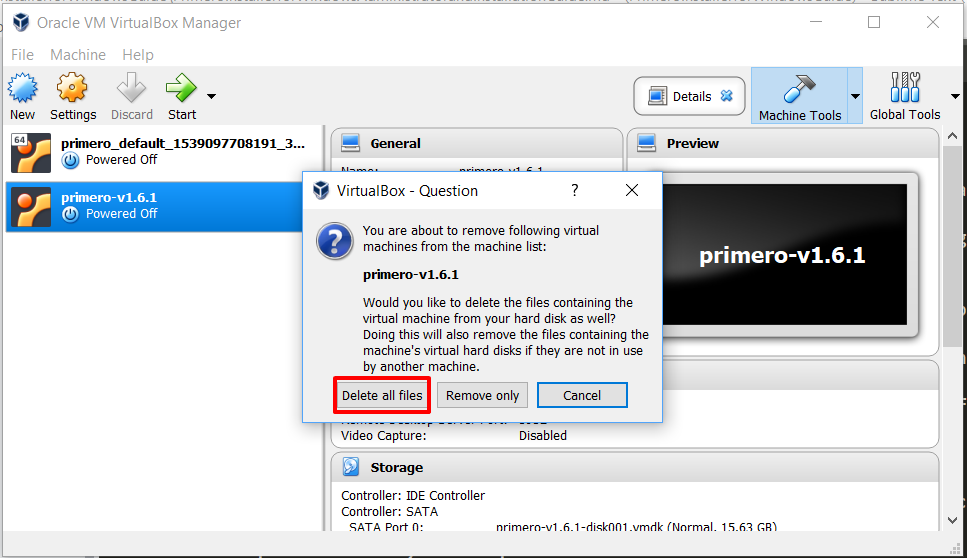
To completely wipe any trace of the machine - which will destroy all data which had been stored in Primero - select the "Delete all files" option in the window that appears.
Making Your Machine a Library Instance
To have the VM you have created on your computer function as a Library Instance, you must make the Primero instance running on that VM broadcast to an IP address which is accessible across the local network. Using the steps below, you will do just that, allowing anyone connected to your office’s network to use the Primero instance running on your VM.
Check office network’s security measures
If you hope to make your Primero instance accessible on the local network, you will need to make sure that your network’s firewall is not blocking ports 6984, 80, and 443. These ports are absolutely essential for Primero to function properly. Depending on your organization, you may need to have your office’s IT team do this.
Disable original adapter
You will now need to adjust the VM’s network settings. First, shut off the machine by clicking on the “X” mark in the top of the machine window, selecting “Power off the machine,” and then clicking “OK.”

Now, in the main VirtualBox window, click on your machine, and, in the options at the top of the window, click the gear icon to navigate to your machine’s settings. Then select the “Network” bar to see your network settings.
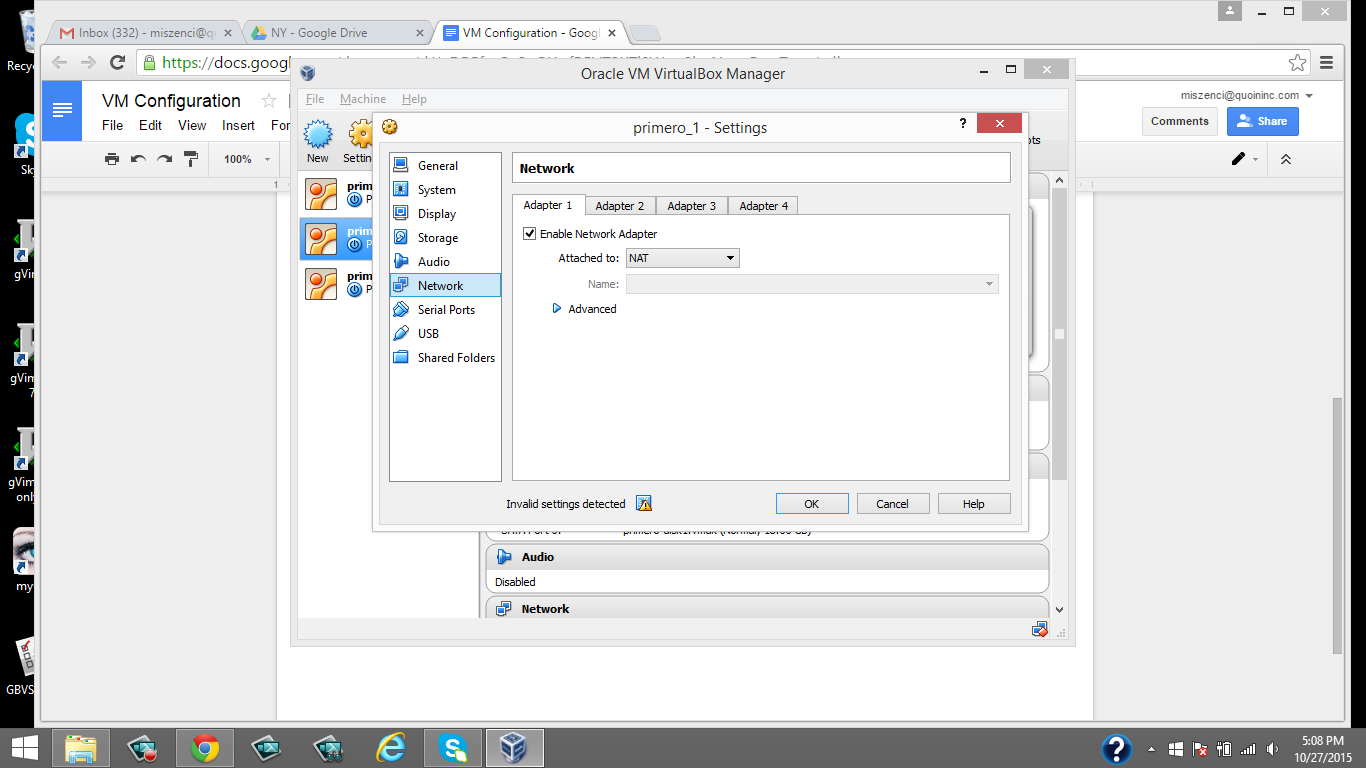
In the network settings, you should see a series of tabs, labelled for adapters 1 through 4. By default, your machine will only have the first of these enabled, and the “Attached to” setting will be set to “NAT.” NAT is the simplest type of network adapter your VM can have configured, allowing it to have basic access to the internet. For more information on the different types of adapters available in VirtualBox, please see the VirtualBox documentation on Networking. While we want to leave this adapter in place, we do want to disable it to prevent it from overriding the address on which we will be broadcasting Primero. To do this, uncheck the tickbox labelled “Enable Network Adapter.”

Please note that, while disabling this adapter will allow us to broadcast Primero through a network-accessible IP address, it will also keep us from accessing Primero via the “https://localhost:11443” address we had used before. The IP address to which Primero broadcasts will now be the only way to access the application.
Enable second adapter, choose adapter type
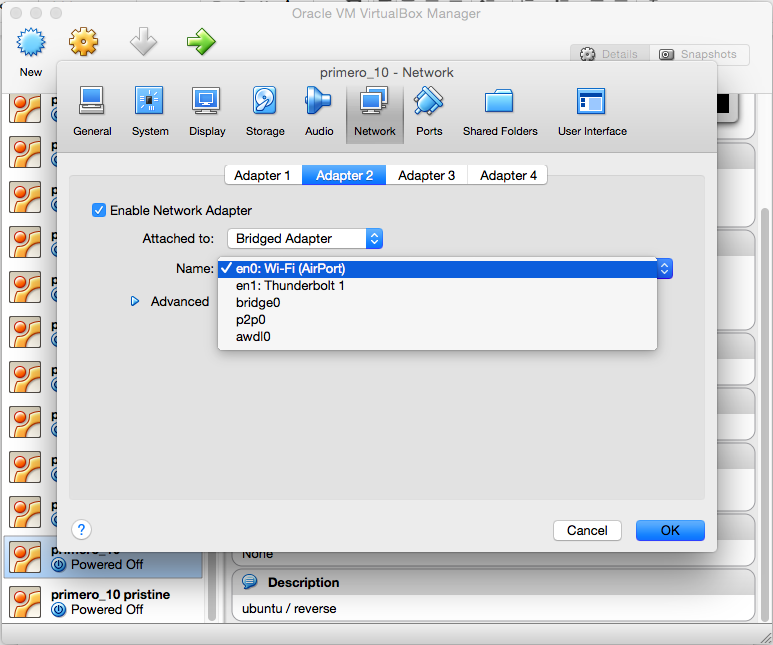
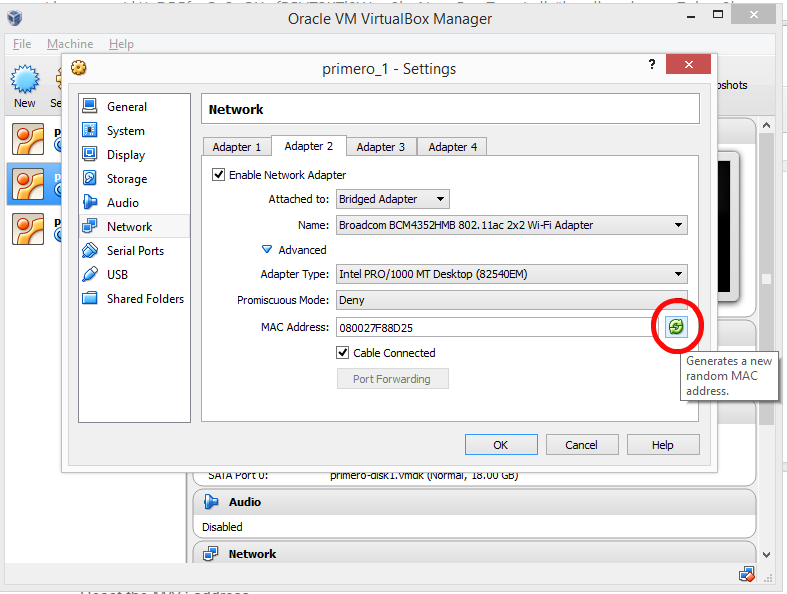
Once that is done, we will want to create a new adapter to help broadcast Primero. First, click on the “Adapter 2” tab. Enable this second adapter by checking the “Enable Network Adapter” tickbox. Next, we want to change the “Attached to” option to reflect the kind of network adapter we want. Here, we want to use a “Bridged Adapter,” a type of adapter that allows a server running inside your VM to directly access your computer’s network hardware and thus broadcast to an IP address. Once again, for more information on the various types of network adapters, please see the VirtualBox documentation on Networking.
Choose which adapter card we’re using
Next, we need to select the name of the particular adapter card we want to use. The selection we choose will depend on how users are going to be accessing the network, and through it, Primero. Specifically, we want to know whether they will be connecting to the office network using a wired (ethernet) or wireless (wi-fi) connection. Since these two types of connections tend to operate on different parts of the network, there is the possibility that machines using different modes of connection will not be able to talk with each other. Because of this, a good rule of thumb is to make sure that the machine hosting the Primero instance and the machines which are accessing it are using the same mode of connection. Your users are connecting via ethernet? Connect the host computer to the network with an ethernet cable and select the ethernet adapter when configuring your machine. Users are using wi-fi? Connect the host machine using wi-fi and select the wi-fi adapter in your VM configuration. In the example below, we are using the wi-fi option.

The names of the different adapters will change depending on the type of computer you are using. In our example, the wi-fi adapter happens to be a Broadcom adapter. The important part, when selecting the right adapter, is to use the one that corresponds to your connection type. Wi-fi cards are usually easier to identify than ethernet cards, since they generally have the words “wi-fi” or “wireless” in the name. Ethernet adapter names are a bit more ambiguous. In a situation like the one in the picture above, we can just use process of elimination to determine that the ethernet card is the one which does not have “Wi-Fi” in the name.
Finding the right adapters on a Mac is a bit easier, since the names for these adapters are fairly consistent, with ethernet adapters generally being labelled as the “Thunderbolt” adapter and wi-fi adapters being named “AirPort.”
Configure advanced settings
Once you have selected the proper network adapter, click on the word “Advanced” to reveal the advanced settings. Here, the default settings should be suitable for Primero’s needs, but just to be sure, check that “Promiscuous Mode” is set to “deny.” Then click “OK” to finalize your settings. Now that the network settings for your machine have been saved, it is time to start up your machine, login, and find the IP address on which Primero is broadcasting.
Restart your machine
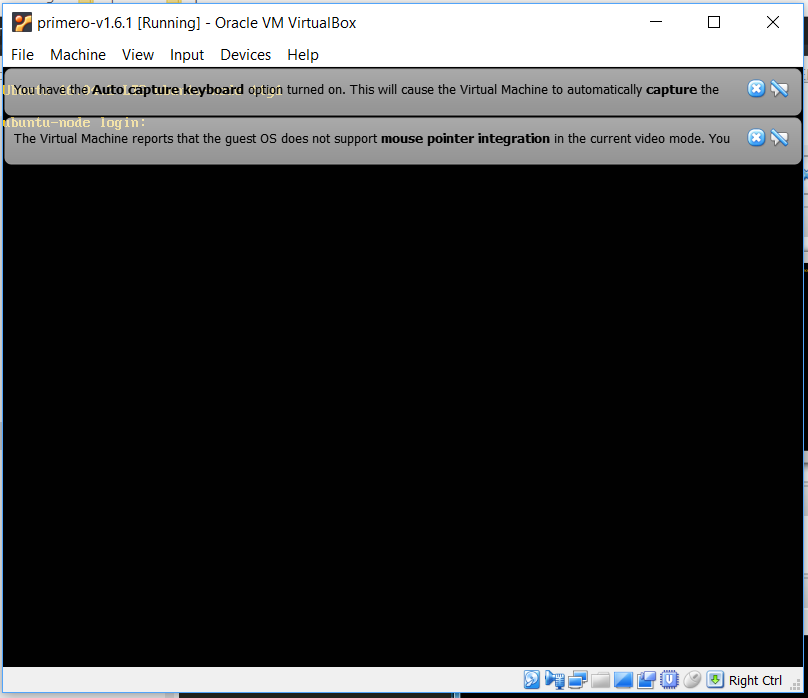
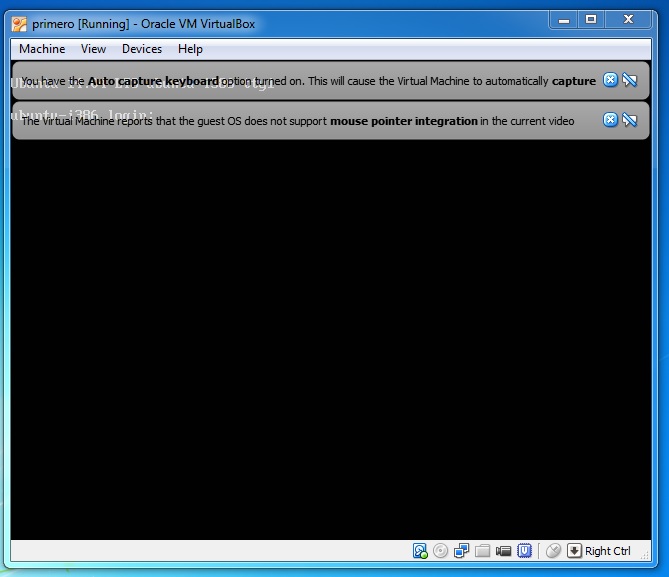
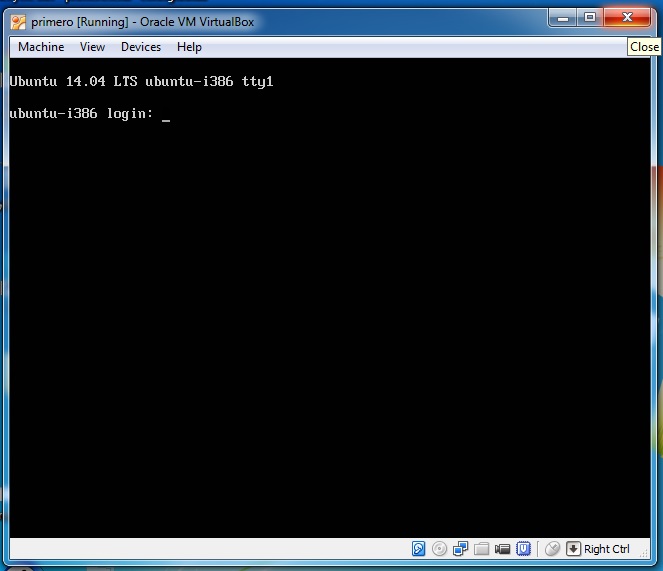
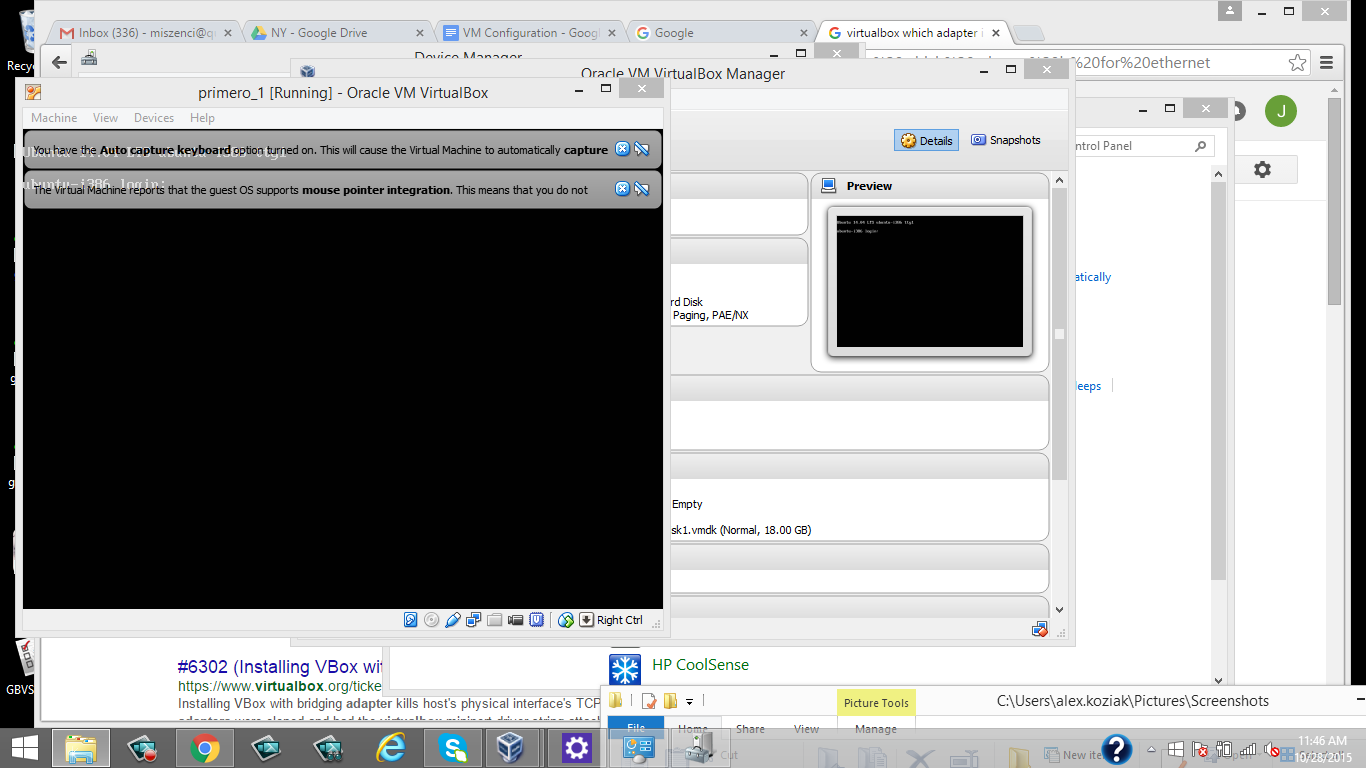
Go ahead and double click your machine to restart it. A window will open with your machine’s terminal in it. You will see the machine starting up, with lots of output displaying in the terminal. Ignore all of this until you see a line telling you to login. You may also see a few translucent notifications at the top of your terminal window. These explain that the virtual machine you are using will all capture keystrokes and mouse clicks. Please note that if you do click within the VM window, you will be unable to move your mouse outside of it, since your mouse movements are now being entirely captured by the VM. To go back to using your mouse normally, hold down the control key and click your mouse. For more information on how VirtualBox captures key and mouse actions, visit their guide on the subject. Since these warnings can get in the way of you seeing what’s happening on your machine, hit the “x” on each to remove them.

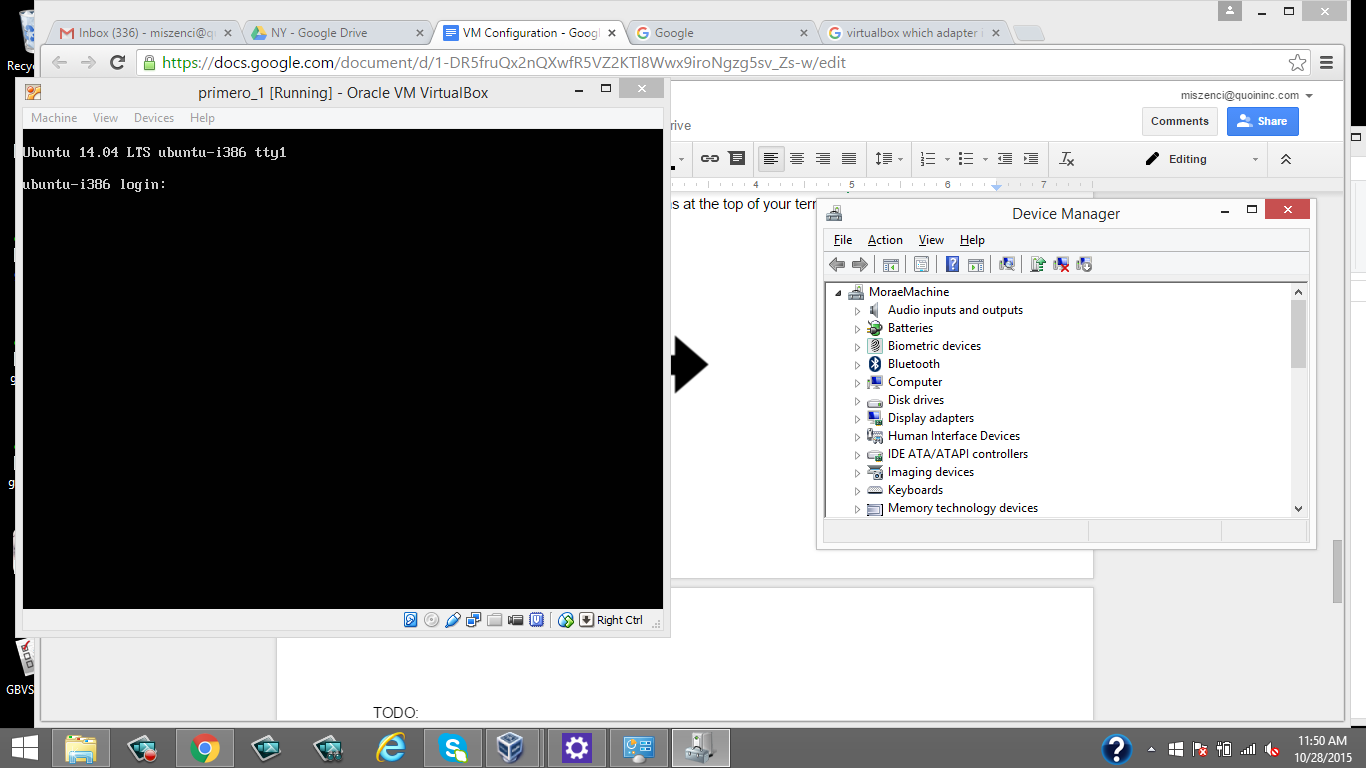
For your login, type “ubuntu,” and then press Enter. The machine will ask you for a password. Type “primero,” and press Enter.
Get IP address
You will now see a command line prompt. Type “ifconfig” and press Enter. You will see something like the output below.
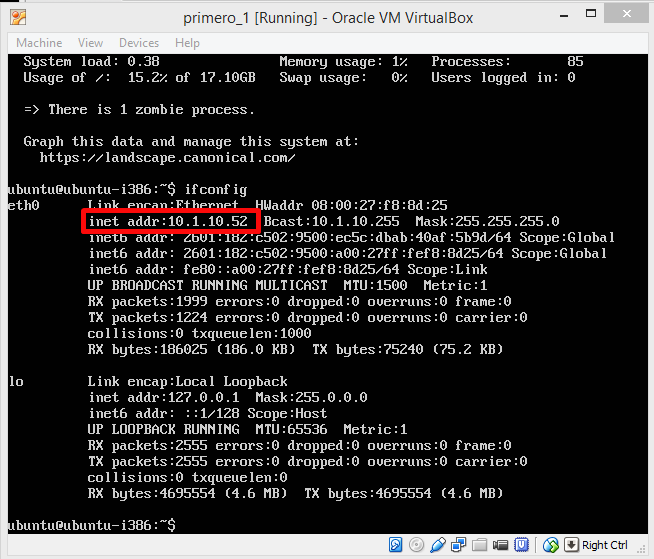
The command we just typed, “ifconfig,” tells you all of the IP addresses in use on your system. We will always want the first IP address under the “eth0” section. This line containing this address will start with the term “inet.” In the example above, the address we want to use is “10.1.10.52.”
Navigate to Primero
To test and see if your machine is broadcasting to the network properly, connect another computer to the network the same way your host computer is connected (ethernet or wi-fi), open a browser, and go to that IP address, prefixed by “https://”. So, in the case above, we would go to “https://10.1.10.52”. If you get to the Primero application, your broadcast has worked. Note that you may also receive a screen telling you that the connection is not secure, in which case, you should proceed to the page anyway. For more information on how to bypass this security screen, please consult the Running Primero section.
Virtual Machine Network Configuration Troubleshooting
If you cannot reach the IP address you found in the steps above over the local network, you may want to try resetting the MAC address for the new adapter you configured. A MAC (media access control) address is an address given to your computer’s adapter card by the network when it connects. Refreshing this address will force a number of processes to run over again when you restart your machine, and, in the process, potentially fix any problems that may have occurred when Primero attempted to broadcast to an IP address.
To refresh your MAC address, shut down your machine, and go back into the machine settings, clicking on the Network section. Click on the tab for Adapter 2. If you click on the word “Advanced,” you should see a field towards the bottom labelled “MAC Address.” To the right of the field, there should be an icon with two green arrows circling each other. Click this, and a new MAC address will show up in the field. Click “OK” to save the new address.
Now that you have a new MAC address, it is time to restart your machine, get Primero’s IP address, and attempt to navigate to it, repeating steps 6-8 above.
More Troubleshooting
Here are some common errors that may be encountered when running the locally installed version of Primero:
A 404 error on accessing the Primero application after starting or restarting the VirtualBox VM: The VirtualBox VM needs a brief period to start up before accessing Primero through the browser. Wait 30 seconds and refresh the browser page after the 404 error.
Can’t access the Primero application after computer hibernates: The VirtualBox VM must be properly shut down before the PC goes into hibernation. If the laptop hibernates while the VirtualBox VM is running, the application must be reset using the instructions above before accessing the application in the browser again. Previously saved data will not be lost.
Other, non-Primero applications are running slowly: This may occasionally happen on weaker laptops when Primero is performing an intensive task like report generation. Wait for the task to finish or close the affected applications.
Primero seems stuck: If Primero seems to be stalled for some reason, a reset via VirtualBox VM using the instructions above will typically resolve these issues.